From Rough to Radiant: The Journey of a Custom-Cut Gemstone
Introduction: More Than Just Sparkle
Every gemstone has a story, and it starts long before it ever finds its way into a piece of jewelry. In fact, every glittering facet you admire is the result of careful planning, patience, and precision. At Lumis Jewelcraft, we specialize in transforming both natural and lab-created rough gemstones into one-of-a-kind treasures. Here’s a look behind the scenes at what goes into the creation of a custom-cut gem.
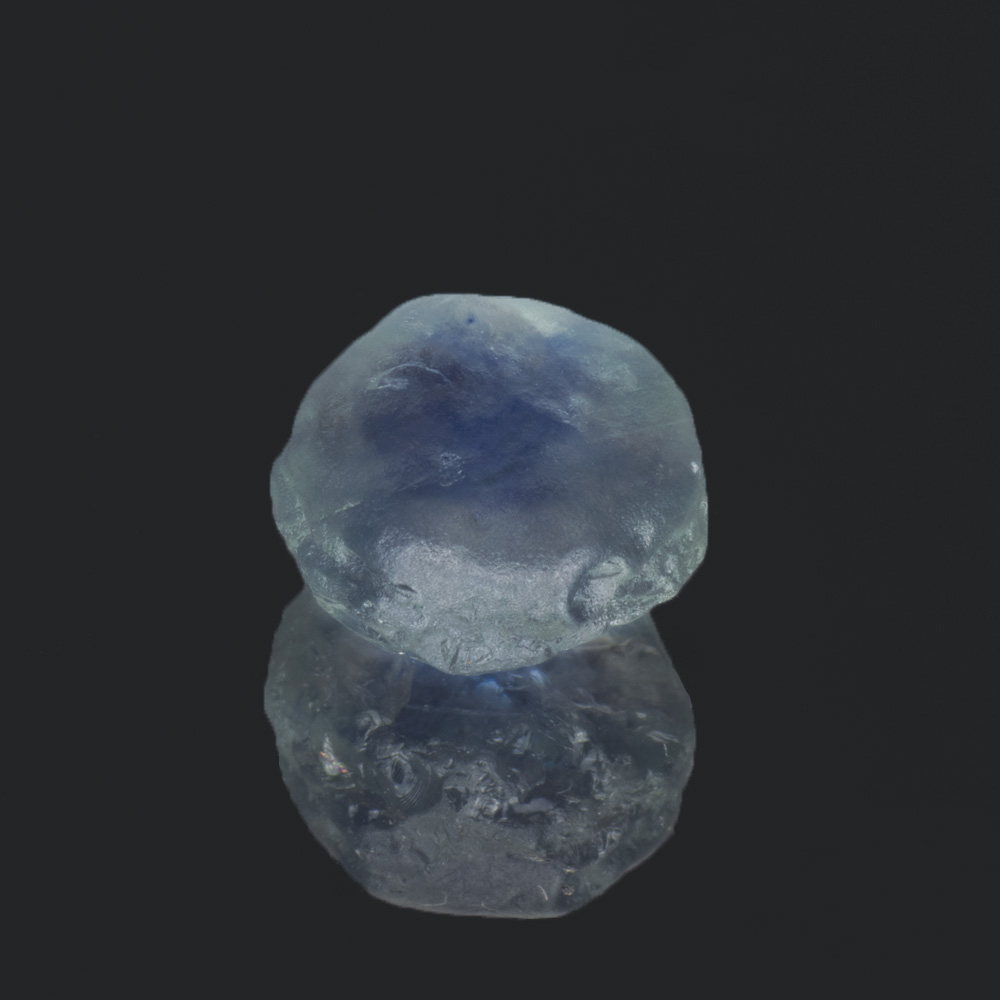
2.55 carat rough Montana sapphire
The central blue color zoning was a big part of why this stone was chosen for a Hanami cut.
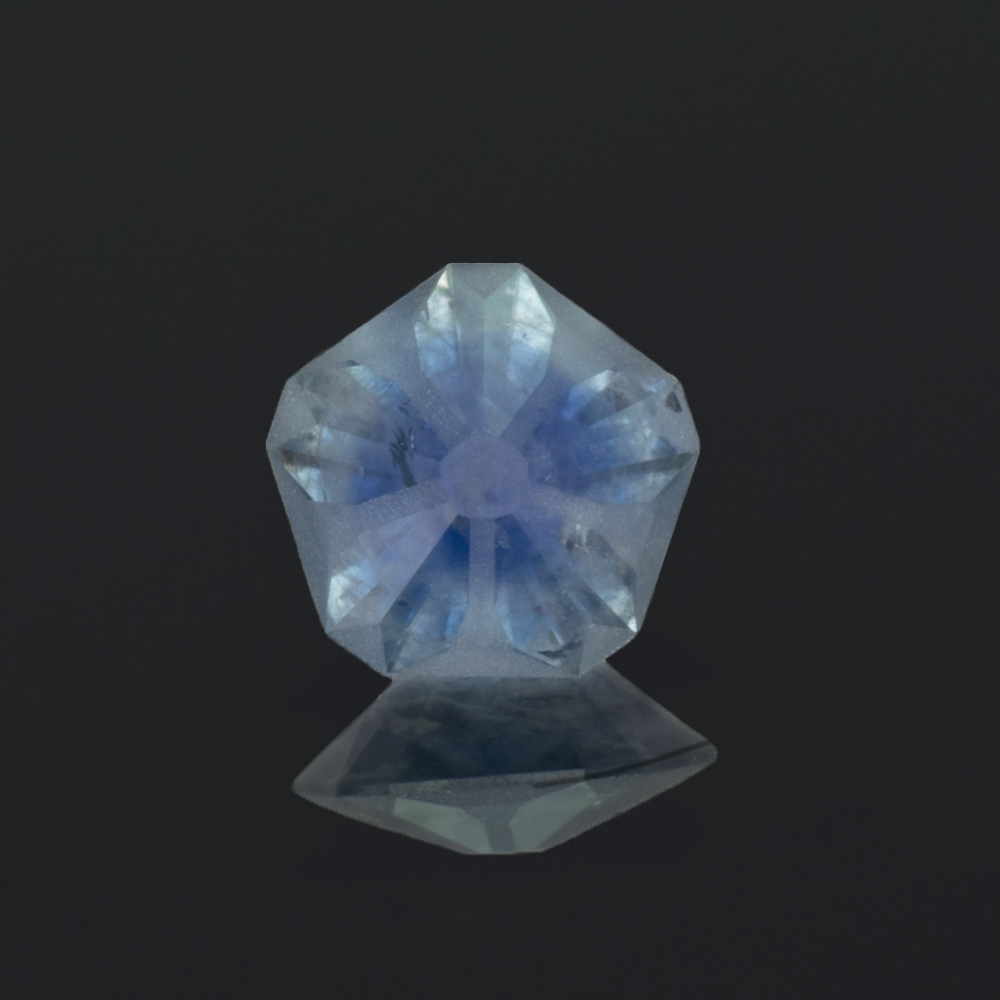
Finished Hanami cut, 0.91 carats.
Just shy of 36% yield from the original 2.55 carat rough. A 25% to 35% yield is considered good for many cuts. This Hanami design isn’t known as a weight saver; a 35%+ yield is quite good.
Step 1: Choosing the Right Rough
The journey begins with the selection of a suitable piece of rough gemstone material. Whether it’s a Canadian grossular garnet from the Jeffrey Mine in Quebec or a bright pink sapphire from abroad, the shape, clarity, color, and color zoning of the rough plays a huge role in what it will become.
Step 2: Mapping the Stone
Before any cutting begins, I study the rough gem under magnification and various light sources. This step is like reading a map: the cutter must determine the best orientation for color (many gemstones are pleochroic, which means that different colors are seen from different directions or angles), while minimizing waste and flaws.

Inspecting rough Montana under a microscope.
Step 3: Preforming – Shaping the Foundation
Once the orientation is set, the gem is “preformed”, where it is shaped into a basic outline using coarse diamond laps. This step removes excess material and starts defining the outline of the final stone, such as a round brilliant, cushion, or custom cut.

Preforming the Hanami design in the Montana sapphire shown above.
Preforming is usually done with the gemstone tightly held between the cutter’s fingers, but because this rough piece was fairly small and I wanted to maximize yield, I decided to preform more precisely, on the dop.
Step 4: Faceting the Stone
Using a faceting machine that is operated by hand, I carefully cut and polish a series of flat planes, called facets, onto the stone. Each facet must be placed at the right angle to reflect and refract light in just the right way.
Depending on the design, a gemstone may end up with dozens or even hundreds of individual facets. Precision is important – just one wrong angle can create a lifeless gem.
Step 5: Final Polish and Quality Check
After the last facet is polished, the gem is cleaned and inspected. We evaluate it under various lighting conditions, ensuring that it sparkles brilliantly and meets our high standards for symmetry, polish, and performance. Only then is it ready to be set into a custom piece of jewelry or sold loose to an interested buyer.
Finished Hanami cut in ambient outdoor lighting, under a tree.
Why It Matters: The Value of Custom-Cut Gems
Mass-produced gems are cut for efficiency, not beauty. When you choose a custom-cut gemstone, you’re investing in craftsmanship, care, and individuality. Whether it’s a gift, an heirloom, or part of your personal collection, your gem tells a story that began in the earth and ends with you.
At Lumis Jewelcraft, we’re proud to offer custom cut gemstones to clients across Canada and beyond. We strive to ensure that every gem reaches its full potential: radiant, rare, and uniquely yours.
Interested in Starting Your Own Custom Gemstone Journey?
We’d love to hear from you. Contact us to learn more about our available rough material or to start a bespoke cutting project. Your story deserves a gem that’s just as unique.